
Framing Tips for Odd-Sized Fantasy Posters (Plus IKEA-Hack List!)
Share
The Heroic Struggle of Odd-Sized Art
So, you've bought a fantasy art print. Maybe it's a sprawling elven city, a cheeky kobold tavern brawl, or a map of the Nine Infernal Layers of Bureaucracy. You unroll it with a flourish, ready to give it pride of place on your wall, only to discover...
It doesn’t fit any frame sold by mortals.
Too wide for A4, too tall for A3, and somehow just irregular enough to make you question the rules of geometry.
Welcome to the noble quest of framing odd-sized fantasy posters – where every dragon-filled print demands a custom throne.
But fear not! In this guide, we’ll show you how to frame your beautifully bizarre art pieces without spending a mountain of gold. Whether you’re hacking IKEA frames, building your own mounts, or plotting affordable custom options, we’ve got you covered.
Grab your ruler, your inner kobold, and maybe a cup of tea. It’s time to level up your wall game.
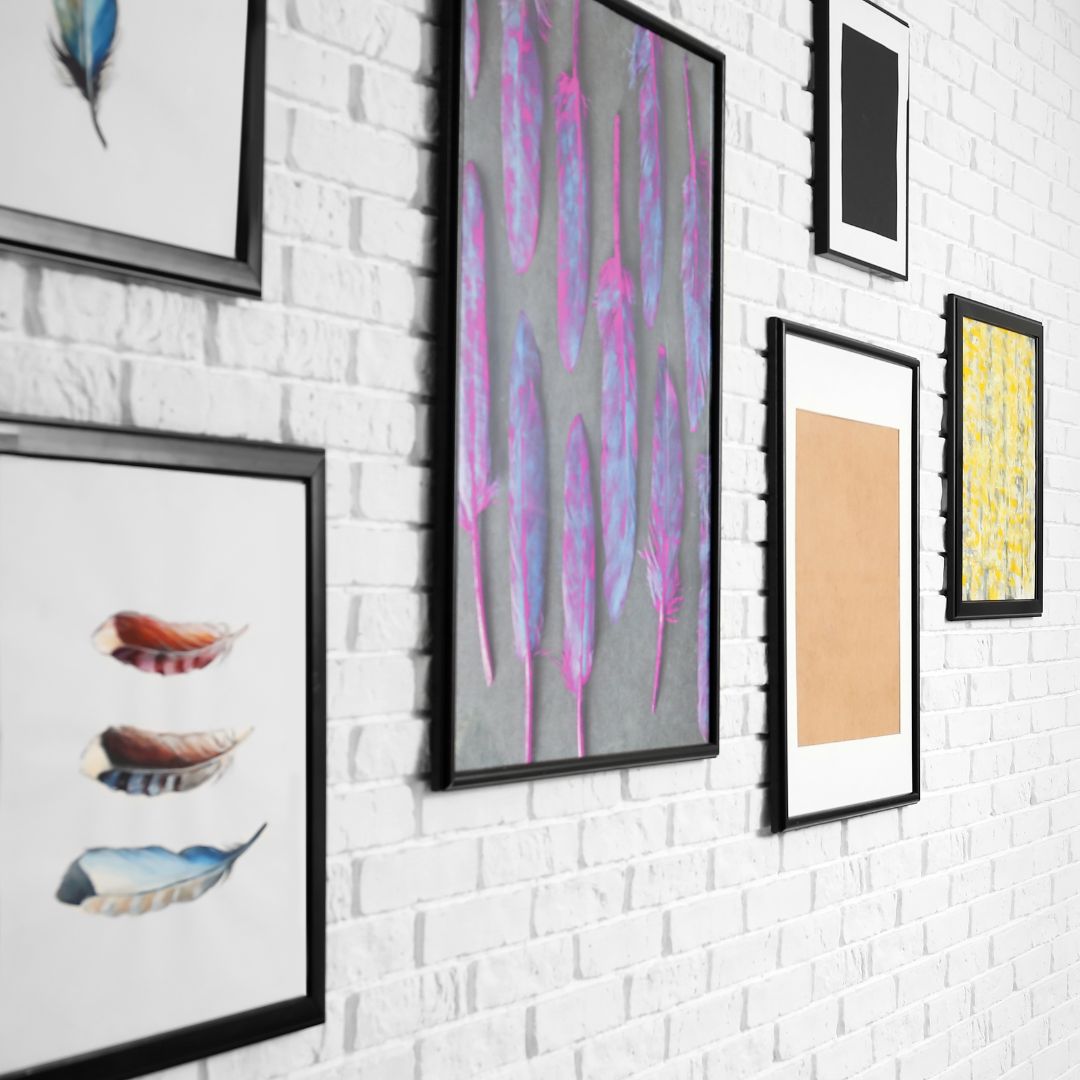
Why Fantasy Posters Tend to Be Odd Sizes
Fantasy art isn’t like your usual botanical print or minimalist line drawing. It lives large, full of character sheets, map scales, or epic scenes with aspect ratios that would make a framing shop cry.
Here’s why:
- Designed for screens first – Many digital downloads use screen-friendly ratios (16:9, 3:2, 4:3), not standard print sizes.
- International weirdness – US Letter, ISO A-sizes, and Print-on-Demand inches all collide in glorious chaos.
- Creative freedom – Artists go with what looks best, not what fits IKEA Ribba.
Result? Beautiful, unique pieces... that are a right pain to frame. But let’s fix that.
Step One: Measure Twice, Cut Never
Before you spend a single coin, measure your poster.
- Use a metal ruler or tailor’s tape.
- Measure in millimetres if you’re using IKEA or EU frames.
- Record width x height (in portrait or landscape orientation).
Now check your poster’s size against common frame sizes:
- A-sizes (A4 = 210×297mm, A3 = 297×420mm, A2 = 420×594mm)
- Standard US inches (8×10, 11×14, 16×20, 18×24)
- IKEA-friendly (see cheat sheet below!)
If your poster doesn’t match? You’ve got options.
Option 1: The Mount & Mat Method
A classic solution: use a larger frame and create a custom mount (mat) to centre your odd-sized poster inside.
Pros:
- Looks polished and gallery-ready.
- Works with off-the-shelf frames.
Cons:
- Slightly more effort and cost.
How to do it:
- Buy a larger frame your print fits inside.
- Cut a mat board with a window the size of your poster.
- Centre the art behind the mat, tape lightly on the back.
- Close up frame. Done!
Most framing shops will cut a mat for you (some IKEA stores have cutting services too). Or you can buy a self-healing mat, metal ruler and craft knife to DIY.
Pro tip: Want a fantasy twist? Use parchment-textured mount board or add tiny rune patterns around the border.
Option 2: Float Mounting (aka Let It Breathe)
Instead of cropping your art or hiding edges, float mounting lets your poster ‘hover’ inside a larger frame.
It’s a stylish way to show off raw edges, textured paper, or deckled finishes.
How to float mount:
- Choose a frame that’s larger than your poster.
- Cut a backing board to size.
- Attach your poster lightly with photo corners or foam tabs.
- Add a spacer or thick mount around the edges to lift the glass.
This looks fantastic with vintage-style maps or scroll-like fantasy art.
Bonus tip: Use parchment or handmade paper behind the print for extra texture.
Option 3: Trim or Resize: If You Dare
Sometimes your poster is just barely off-size, like 310mm wide instead of 297mm. In that case, you could carefully trim it down.
Only do this if:
- You’re confident it won’t ruin the design.
- You have a good rotary cutter or guillotine.
- The art doesn’t bleed to the edges.
Resizing digitally is another option, if you bought a printable file and want to reprint to fit A4 or A3. You can do this in:
- Canva (easy for beginners)
- Photoshop / GIMP (more control)
- Photopea (browser-based, free)
Just remember to lock the aspect ratio or you’ll end up with some very stretched dragons.
Option 4: Custom Frames on a Kobold’s Budget
Custom frames can get expensive fast. But there are some surprisingly affordable UK sources if you know where to look:
- eFrame.co.uk – Choose exact sizes, colours, mounts. Ships UK-wide.
- Easy-Frame.co.uk – Great for odd ratios and non-standard art.
- Wilko (when in stock!) – Budget options with decent quality.
- The Range / Hobbycraft – In-store browsing can yield weird gems.
Order frames with exact visible area to match your poster, and always add 2mm wiggle room.
Option 5: DIY Poster Hangers: No Frame Needed
Sometimes you just want the poster up now. Enter: magnetic poster hangers.
They clamp your art at the top and bottom with wood strips (no damage!), hang from a string, and look great in fantasy-themed rooms.
You can buy them or make your own:
- Two lengths of wood (slightly wider than your poster)
- Add magnets or use bulldog clips
- Tie on string, and boom – wall-ready
Great for:
- Large vertical pieces
- Maps & scrolls
- Posters printed on fabric or thicker stock
IKEA-Hack List: Matching Odd Sizes to Affordable Frames
Ribba Series
- Ribba 30×40 cm (actual mount 21×30 cm – close to A4)
- Ribba 40×50 cm (fits A3 with mount)
- Ribba 50×70 cm (great for floating prints or custom matting)
Lomviken Series
- Thinner, more modern frame edge
- 40×50 cm / 50×70 cm / 61×91 cm – works for cinematic fantasy prints
Hovsta Series
- Natural wood look
- 21×30 cm / 30×40 cm / 40×50 cm / 50×70 cm
- Mount included, but remove or customise for odd sizes
Top Kobold Picks:
- A 12×18 inch (30.5×45.7 cm) poster? Try Ribba 40×50 cm, custom mat.
- A tall 10×20 inch print? Hovsta 50×70 cm, float mounted.
- Weird 24×36 inch digital? Lomviken 61×91 cm, no mount, looks sleek.
Don’t forget: you can paint or distress IKEA frames for extra fantasy flair, think black matte with silver drybrushing, or wood stain for rustic vibes.
Kobold Craft Time: DIY Rustic Frames
Want to go full fantasy? Craft your own frames from scratch using:
- Wooden trim from B&Q or Wickes
- Wood glue + corner clamps
- A saw and mitre box
- Twine, leather, or wire for hanging
Decorate with:
- Runes carved or burned into the frame
- Tiny faux moss tufts
- Resin crystals in the corners
- Scrollwork stencils
Looks amazing for dungeon maps or old scroll-style posters.
Display Without Frames: Creative Ideas
Not every poster needs a traditional frame. Try these:
- Clipboard gallery – Use large clipboards to hold art; easy to swap.
- Cork board collage – Pin odd-sized prints in clusters.
- Washi tape corners – Colourful, renter-friendly, great for rotating art.
- Fabric wall hangings – Print art on canvas or cotton, use curtain rods to hang.
Perfect for small spaces, shared rooms, or scroll-style fantasy displays.
Caring for Your Framed Art
Once framed, keep your poster looking its best:
- Hang away from direct sunlight (to prevent fading)
- Use non-acidic tape and backing boards
- Dust frames with a soft cloth – kobold-approved
- Avoid hanging above radiators or in steamy bathrooms
Want extra longevity? Look for UV-protective glass when custom-framing.
Frame Boldly, Frame Cleverly
Framing odd-sized fantasy posters is part puzzle, part artform, and fully worth it when your walls become a gallery of dragons, dungeons and magical mischief.
With the right tricks, a bit of DIY spirit, and a healthy appreciation for IKEA hacks, you can turn any irregular art piece into a stunning centrepiece.
So next time you fall in love with a weirdly-sized poster (from The Kobold Guild, perhaps?), you’ll know exactly how to honour it.
Hang it proudly. Frame it fiercely. And never let standard paper sizes limit your legend.
Share Your Wall!
We love seeing kobold-crafted galleries and fantasy poster corners. Tag us @thekoboldguild on Instagram or use #koboldwalls and show off your framed triumphs. Whether it’s IKEA-chic or homemade chaos, we salute your efforts.
Until next time, adventurer, may your rulers be straight and your corners true.